Five Tips to Improve your Violin Intonation
When it comes to playing the violin, so much can go wrong. Not only do you have to master all of the correct notes and rhythms in a piece of music, but you need it to sound good too! What’s the biggest difference between your violin playing and that of a professional musician? Intonation!
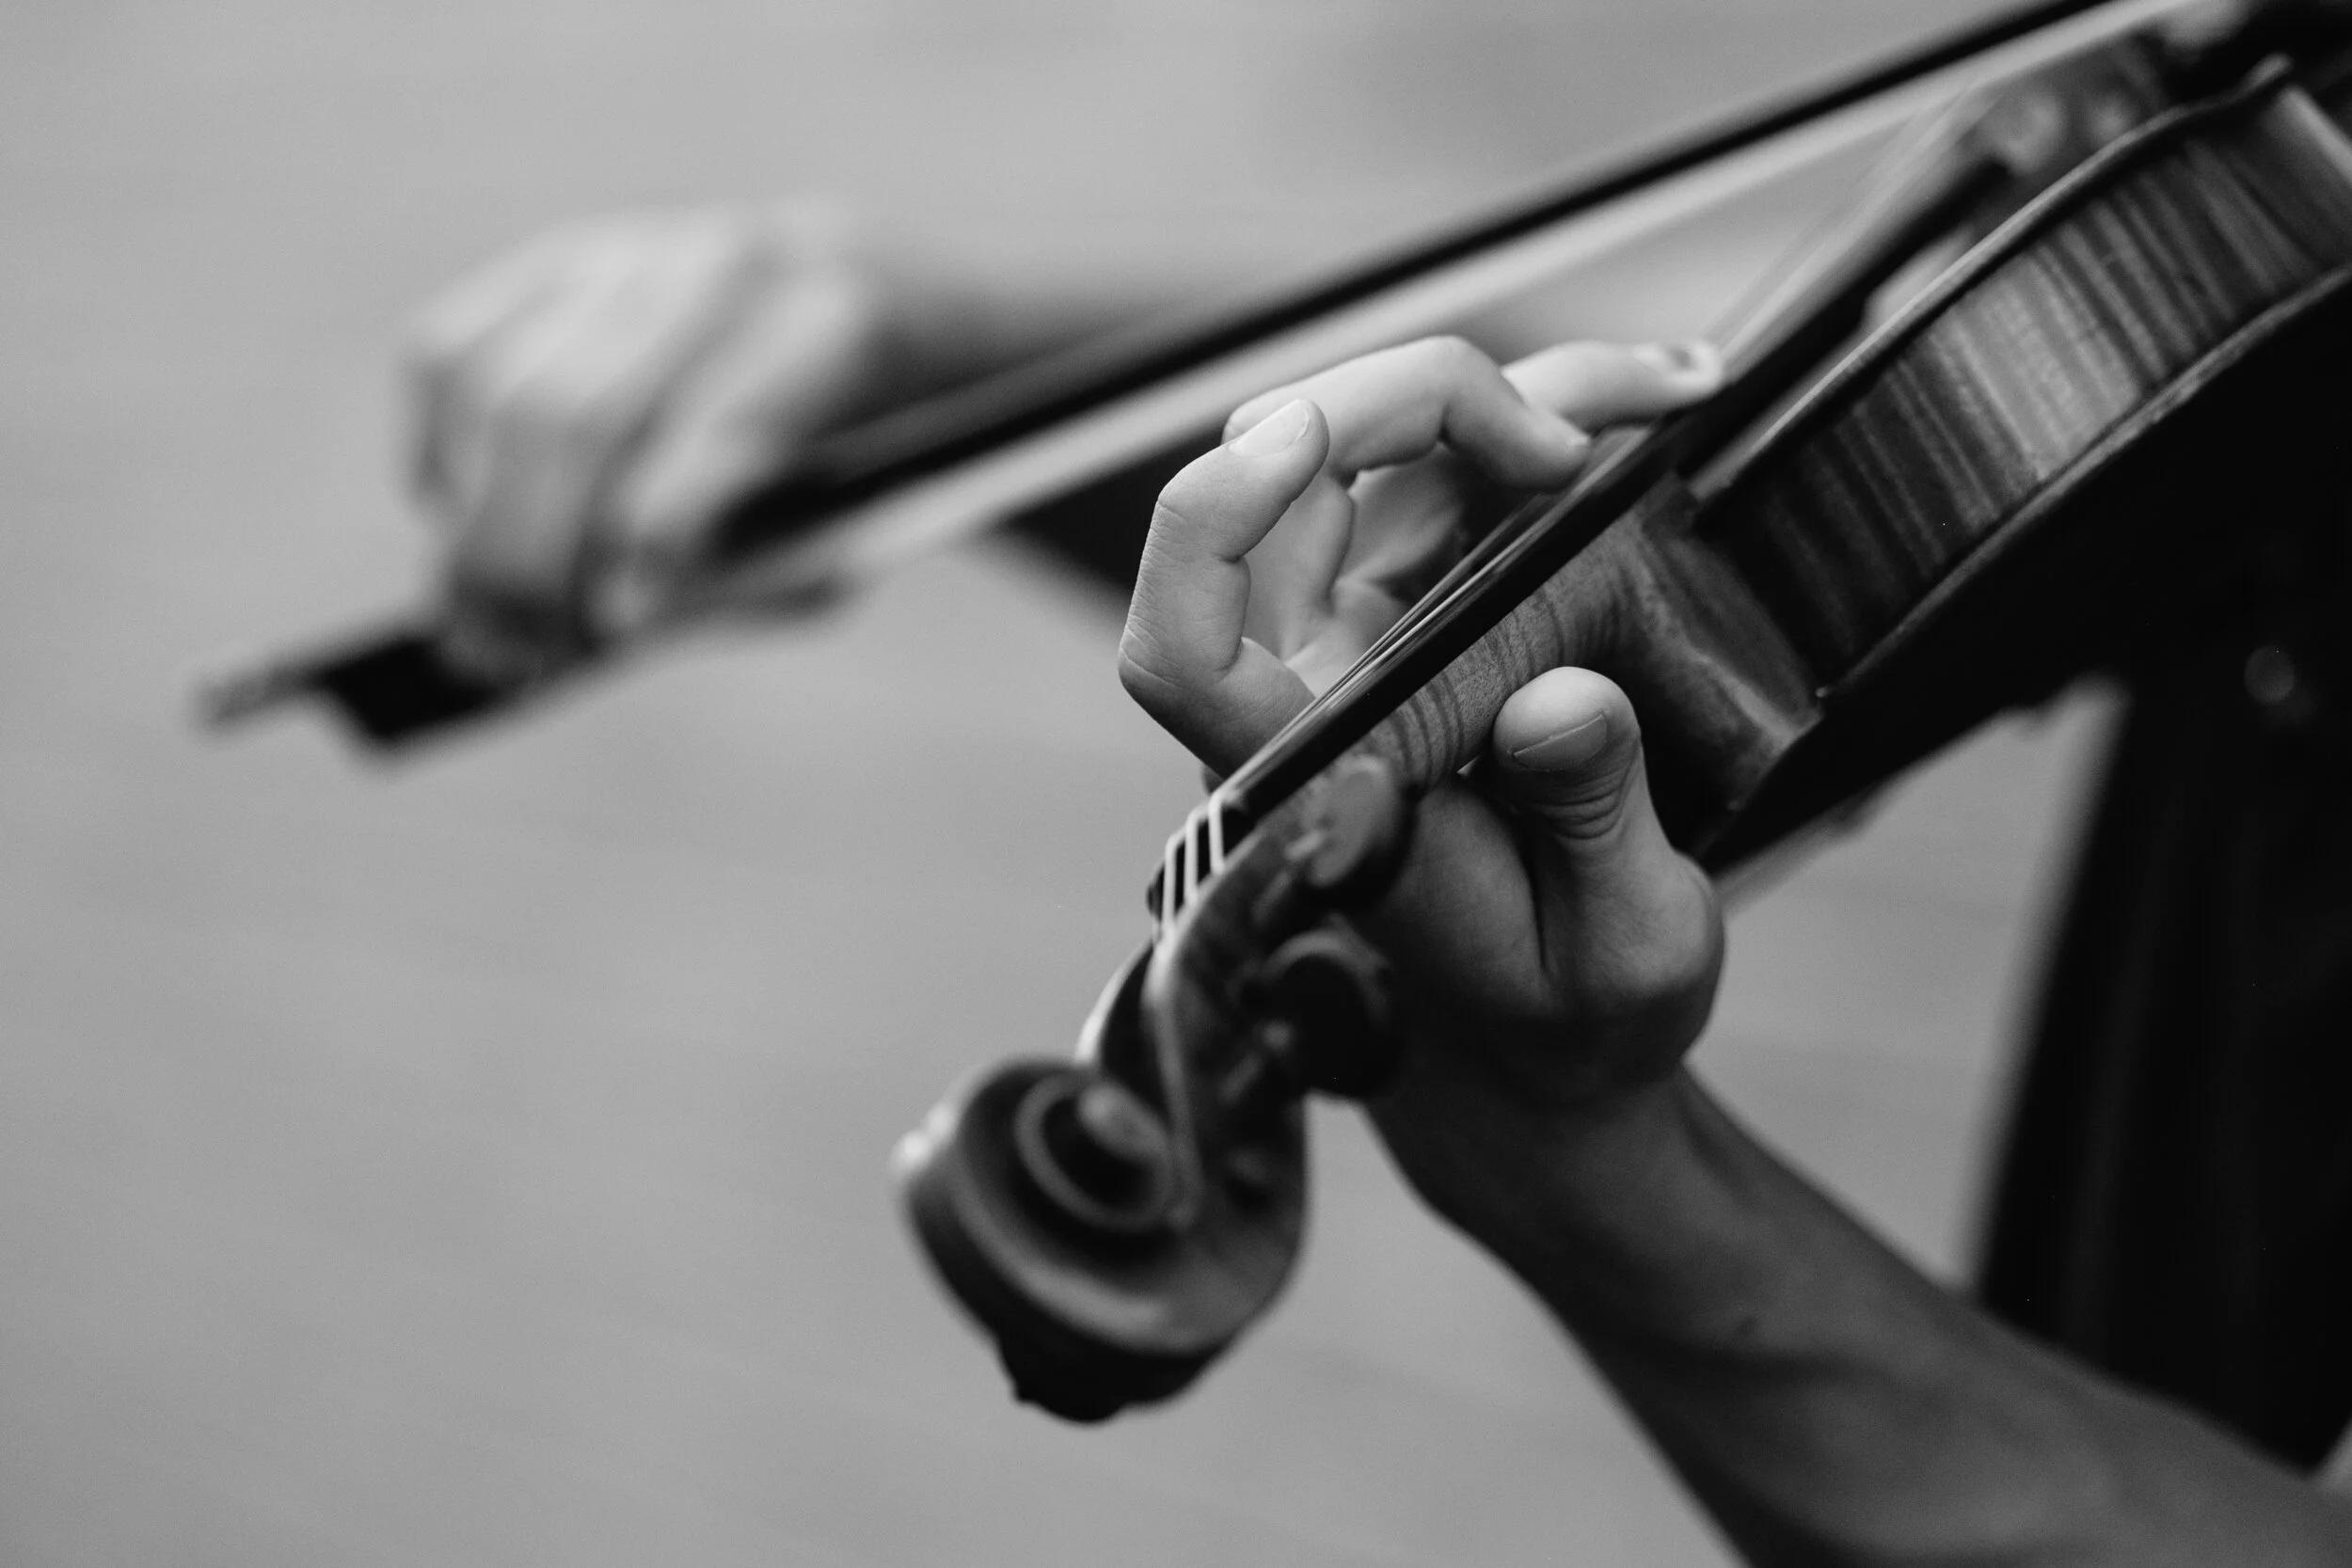
The meaning of “correct intonation” is different depending on who you ask (three types of intonation), but the most basic definition is how accurately you perform different pitches. If a note is too high, it is sharp, and if it’s too low, it is flat. More often than not your finger placement is to blame for poor intonation, but sometimes all you need to do is shift the weight on your finger to get it in tune. I would argue that the most important aspect of good intonation isn’t mastering where to put your fingers, it’s training your ear to hear problematic notes as soon as they arise, and learning to adjust those notes as quickly as possible. Check out these tips to improve your intonation:
Check your Tuning!

Make sure your violin is in tune! If you your instrument is out of tune, good luck trying to place your fingers in the correct spot! The quickest way to improve your intonation is to be sure your violin is in tune. Check out our article on using a tuner to master tuning your instrument.
Open Strings
Use your open strings to help you! Did you know that every 3rd finger is one octave above the lower string? For example, your 3rd finger on the E strings is an A, which is exactly one octave higher than your open A string. Every time you come across this note in your song, double check that it matches your open A string. This will dramatically improve your intonation over time, and can be used with your 3rd finger on the E, A and D strings.
Once you’ve gotten the hang of matching your third fingers to the open string, you’ll notice that you don’t even need to play the open string to check the intonation. You can actually hear the open string ringing when you play the third finger in tune. Once you get this in your ear, you’ll find yourself hearing this excellent intonation all of the time!
The same trick can be applied to 4th fingers on the G, D, and A strings. These notes should be identical to the next highest string. It can be tricky to play the 4th finger at the same time as the open string without a really tall tunnel, so don’t be discouraged! Beginners should just use the open string as a reference pitch to make sure they are on track.
Scales and Arpeggios
There’s a reason why your teacher always makes you warm up with scales or arpeggios! They are the building blocks of music, and if you can’t play them in tune, you have no hope to perform a piece in tune! Scales and arpeggios use formulas that determine which pitches to play. Every major scale, for example, consists of the same formula of whole steps and half steps. Our goal is to engrain this pattern of notes into our ears, so our brains know what to expect when we come across these notes in a song. The more frequency you practice your scales and arpeggios, the better you intonation will be!
Practice with a Drone
Most tuner apps have the ability to play a note for a sustained period of time, AKA a drone. Drone practice is an effortless (though mildly annoying) way to improve your intonation. There are two notes that ALWAYS work for drone practice- the tonic and the dominant. The Tonic is the 1st scale degree, while the dominant is the 5th. Figure out what scale your piece uses by looking at the key signature, or often just by looking at the last note of the song. If your piece is in D Major, than the tonic note is D and the dominant note is A. Once you’ve figured that out, all of the hard work is done! Now just set your drone to D or A, and play your piece. As you play, check in to be sure that all of your D’s or A’s match the drone note perfectly, and adjust your finger as needed. Once that gets easier, you’ll find yourself planning ahead for drone notes, and your accuracy improving. Practicing with a drone is one of the easiest ways to improve your intonation instantly!
Watch for Common Notes
Often times in a piece, you’ll come across a passage with the same note repeated over and over again. Sometimes the repeated note is back to back, and sometimes the note has other pitches sprinkled around it. Be on the lookout for repeated notes! If there is a slight difference each time you play that pitch, the whole piece will sound terribly out of tune. I think you’ll find that focussing on just that one pitch will bring your intonation of the pice up to a whole new level!

Use these 5 tips to effortlessly improve your intonation, and you’ll be one step closer to sounding like the pros. And remember, a private violin teacher can help you reach your goal even faster! For more information on finding a violin teacher in your area, click here.